Project Settings
You can update project details, manage members, configure project features and give a personality to each of your projects.
Contents
Basic
These are the very basic/core settings for your project on interakt. Each option is discussed in detail one by one.
Info
Give your Project a name, upload a logo and link your website. Update the basic info about your project under Settings (Project Settings) → Basic → Info.
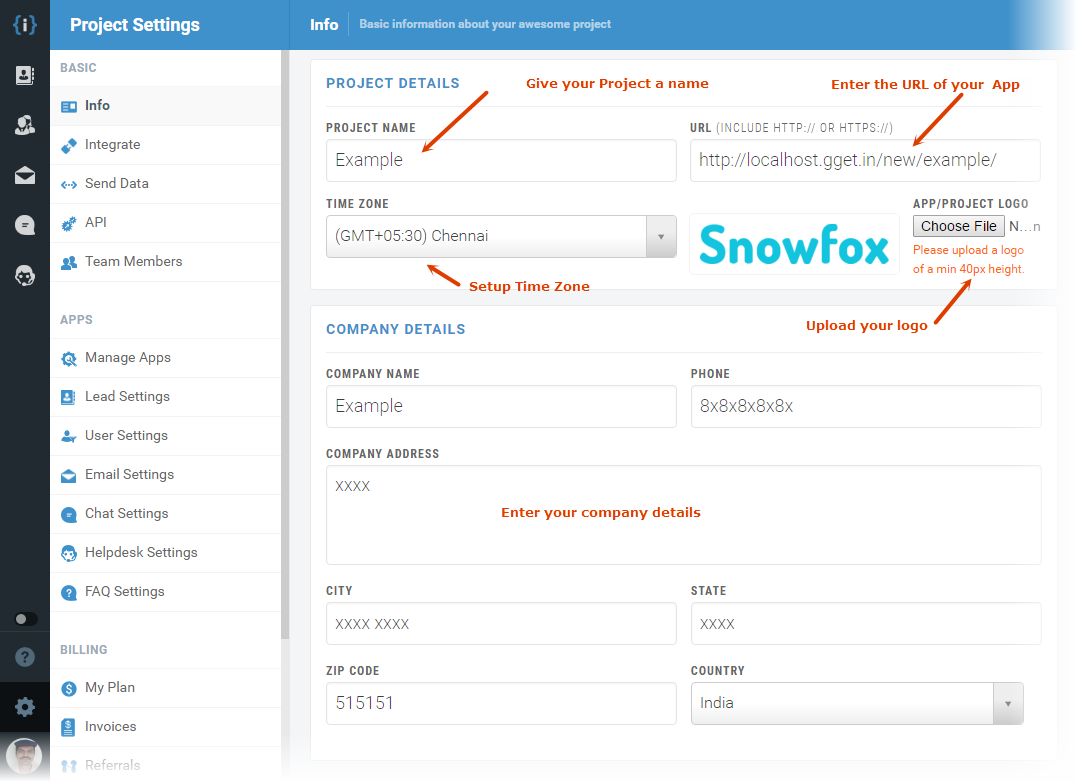
You can change timezone and update project logo if you wish.
Also, we need your company information to use in emails sent from your Interakt account. Enter your Company Name, Address and other credentials.
- Make sure a logo of a min 40px height is uploaded. This logo will be used in email templates and other project branding.
- Make sure that your time zone is set correctly. This will affect all time stamps and operating hours
Integrate
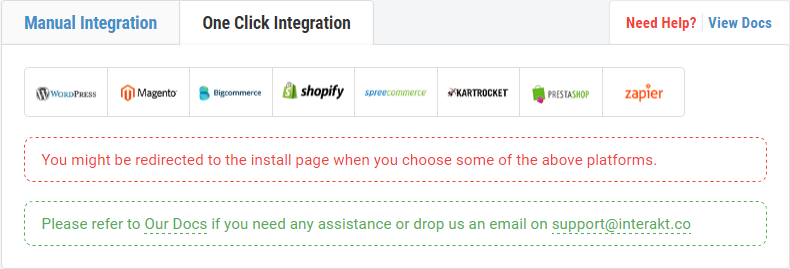
Start engaging and support your customers integrating Interakt to your website. The integration enables you to collect leads and accept feedback right through your website.
Interakt can be installed just by copying a few lines of code to the existing markup or by using one click installs for the major services/frameworks.
Send Data
Interakt helps you sync data of your existing user base with your new Interakt account. To be able to process the data that is already stored in your app, you will need to send it to us.
Follow the steps below (in the screenshot) to start sending data to us:
Company Info
We need your company info to use in emails sent from your Interakt account. To update the company credentials, navigate to Settings and click on Company Info under "Basic". Enter your Company Name, Address and other credentials.
-->API
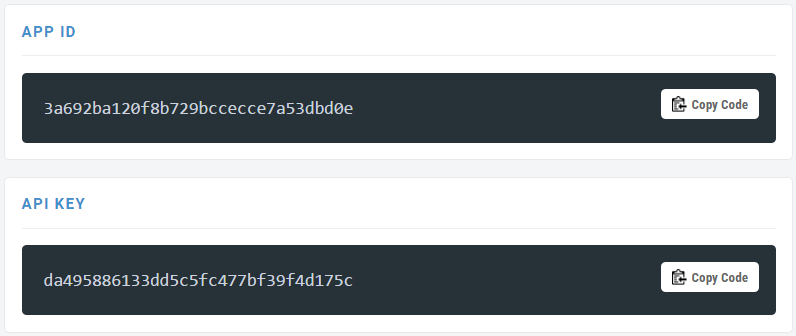
Grab your API credentials (under Project Settings > Basic > API) which can be used for third party integrations.
Team Members
Settings related to team, access etc. are governed through the options in this section.
Members
They are your staff in charge to take care of your Leads and Customers: the guys who will receive queries and answer them. They are also agents who deal with your customers over chat. The agents attend chat requests and answer them.
Inviting a member
Members can be added by admins under Project Settings. To add a member:
- Login to Interakt dashboard, navigate to Settings (Project settings) → Basic → Team Members
- Enter an email id of your staff member in the field Invite New Members
- Hit Invite to submit the email address and send the member an email to confirm.
- Members receive an email notification when they are invited.
- Members will have to create an account on Interakt using the confirmation instructions if they don’t have one.
- You can cancel invitations at anytime just by clicking on "Cancel Invite".
- If your staff member can not find your invitation email there, you might have misspelled the email address. Check if the email address you have entered is correct and try resending invitation.
How do I make a Member an Admin?
To assign admin privileges to other members:
- Login to your Interakt dashboard, navigate to Settings (Project settings) → Basic → Team Members. Decide whom you want to make an Admin
- Click Make Admin on the top of the member block
- Hit Ok when the system asks for confirmation.
How do I revoke Admin permissions given to a member?
Project owners have a chance to revoke Admin role given to your members. To revoke the role:
- Login to your Interakt dashboard, navigate to Settings and click on Team Members under Basic. Decide whose role you want to revoke.
- Click Revoke Admin on the top of the member block
- Hit Ok when the system asks for confirmation.
How do I remove a member?
A member can be removed from your project in two simple steps. To remove a member:
- Login to your Interakt dashboard, navigate to Settings and click on Members under Team. Decide whom you want to remove from your Project.
- Click Remove Admin on the top of the member block
- Hit Ok when the system asks for confirmation.
How do I transfer ownership of my project to another Member?
As an owner, you can transfer ownership of your project to a selected Member. All your rights on the project will be transferred to the Member. To transfer the Ownership:
- Login to your Interakt dashboard, navigate to Settings (Project Settings) → Basic → Team Members.
- From the drop down under Transfer Ownership, select a team member to whom you want to transfer your rights.
- Hit Transfer and click Ok to confirm.
Roles & Permissions
Interakt allows administrators to Enable / Disable features that team members have access to. The permissions can be managed under Settings (Project Settings).
To manage permissions:
- Login to Interakt, navigate to Settings (Project Settings) → Basic → Team Members.
- Check button to enable/disable Chat for team members.
Apps
All the settings related to apps/features are managed from here.
Manage Apps
Interakt allows you to Enable / Disable features for a particular project. To do so
- Login to Interakt, navigate to Settings (Project settings) → Features → Manage Apps.
- Choose a feature that you want to manage and toggle the button to enable/disable.
Lead Capture
Settings related to lead capture are covered under this section. Please look at our Leads Docs for directions on how to capture Leads.
User Funnel
Set up the user funnel from this section. Please look at our Users Docs for more information on User Funnels.
Email Settings
Interakt allows you to view all your transactional email stats from services like SendGrid so you don't have to go to there.
Navigate to Transactional Settings under Apps in the Settings page for instructions to configure.
Chat Settings
This is used to manage chat settings for your project. Please look at our Chat Docs for directions on how to configure and manage the app Chat.
Helpdesk Settings
Interakt allows you to customize Feedback widget and configure a support mail address to route emails. See Setting up Helpdesk & Feedback widget
Billing
All settings, information related to payments is consolidated under this section.
Plans
Interakt offer flexible pricing plans and you pay as you go. Interakt is a pay-as-you-go service and you can upgrade or downgrade anytime you wish.
Take a look at our affordable Pricing plans and compare the features before you upgrade.
- To switch your pricing plan, login to your Interakt account and navigate to Settings.
- Click on My Plan under Billing and review your plan details
- Hit Change Subscription where you can see all our plans available to choose
- Administrators can proceed downgrading or upgrading an account just by clicking on big green button on every plan
- Enter your Credit card number and CVV code in the popup when prompted
- Verify the card details and hit Upgrade.
Invoices
Interakt offers you an invoice for every transaction and you are free to download it under Billing→ Invoices.
Referrals
Recommend Interakt to your friends and earn rewards. Embed our badge or share your referral link to get additional quota of emails.
- Login to your Interakt account and navigate to Settings.
- Click on Referrals under Billing.
- Check number of emails you earned for refering your friends to Interakt. They can be spent to run your next email campaign.
- Embed Interakt Badge into your website by copying the given code
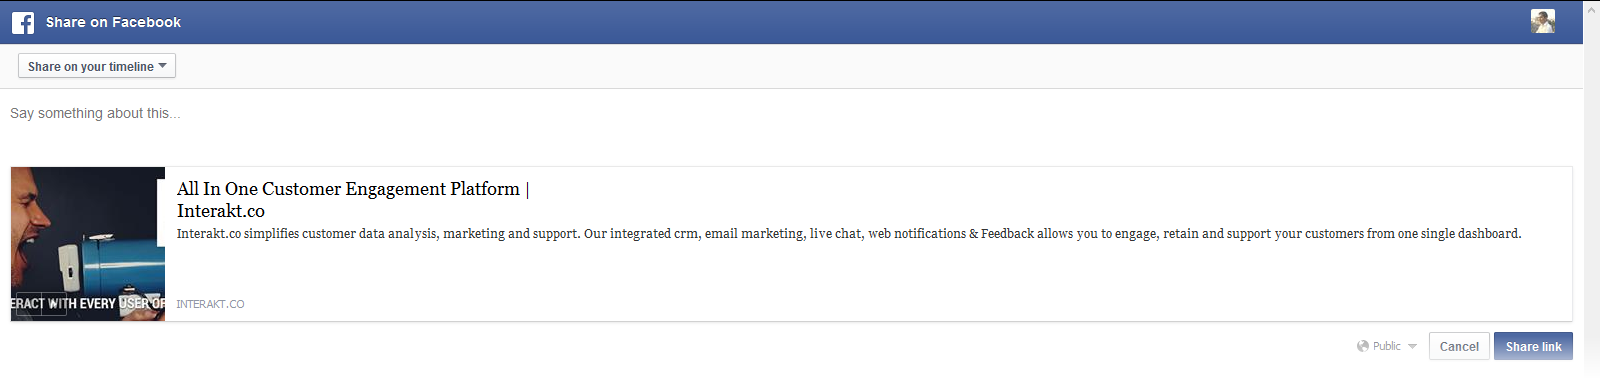
- Hit any of the social share button to spread a word over Social media. You can grab & copy the referral link to share it personally.
How do I cancel my project subscription?
Interakt charges you on pro-rata basis and you can cancel your subscription at anytime.
To cancel,
- Login to your Interakt account and navigate to Settings
- Click on My Plan under Billing
- Click Cancel Subscription
Restricted
Dangerous features are consolidated under this section.
Export data
Interakt lets you export User Data from your project whenever you want. To export,
- Login to your Interakt account and navigate to Settings.
- Click on Export Data under "Restricted".
- Choose what data you want to export, e.g., Leads & Members
- Select the format that you want to export, for example, Excel.
- Click "Export Data"
Please note that the data will be processed in batches. We will drop you an email once your data file is ready for export.
Reset data
Sometimes you just want to delete everything and start over from scratch. Interakt allows you to Reset your Interakt project and start everything from the beginning. To reset your data,
- Login to your Interakt account and navigate to Settings.
- Click on Reset Data under Restricted.
- Enter your password and hit the big red button Reset Data.
- If you choose to reset the project all your members, leads and email campaigns will be deleted. We cannot roll back your data once reset.
- It won't affect your actual project.
Leave Project
Members and administrators can leave a project if they don't want to be part of it.
To leave a project:
- Login to Interakt account, open the project that you want to leave and navigate to Settings.
- Click on Leave Project under Restricted.
- Hit "Yes" to confirm when prompted
Delete Project
We never wish to see you go. You can delete your account with two simple steps under Project Settings.
- Login to your Interakt account and navigate to Settings.
- Click on Delete Project under Restricted.
- Enter your password and hit the big red button Delete at bottom.